This article will go over how to set up your data source for Snap. Please note for this article you will be required to access your Snap account.
Overview
In order to set up a new channel ingestion you will need to navigate to:
Settings > Data Sources
Once you are on the Data Source page please click on "+Data Source" and select Snap:

How to Connect Snap Account to Intelitics
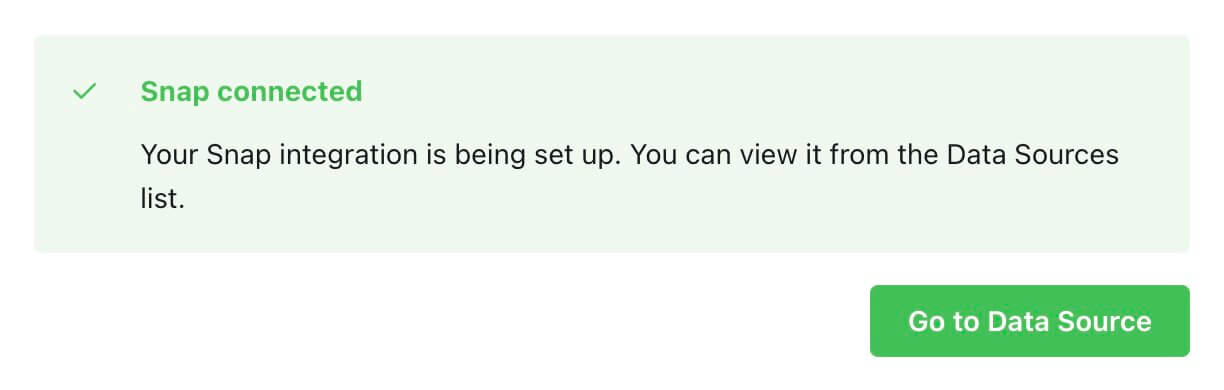
Once in the Snap data source you will be redirected to the Snap business. If needed please sign into your account. After a successful sign in you will be redirected back to the Intelitics data source page where you will see a successful connection pop up. Here, click "Go to Data Source" to complete the set up.
When you are back on the data source page for Snap you should now see your account ID in the selection. Click it and hit "Next".

On the next page you will be asked to Name the Account Name, we recommend using the same name as shown in your Snap Business page (ex: Intelitics). After the name is added hit "Save" and you will be prompted to set up your events to send to Snap. If you do not yet have a pixel within your Snap Account please create one in order to generate an External ID. Our section below will go over how to create a pixel within Snap. If you already have a pixel created please use the ID generated as your External ID and see our section below on how to set up the events.

How to Generate your External ID
Please login into your Snap business account. Once in your account navigate to Business Settings>Pixels and hit "Create Pixel" towards the top right corner of your screen.

After, you will be prompted to name the Pixel. Please name the pixel then hit "Create my Snap Pixel".
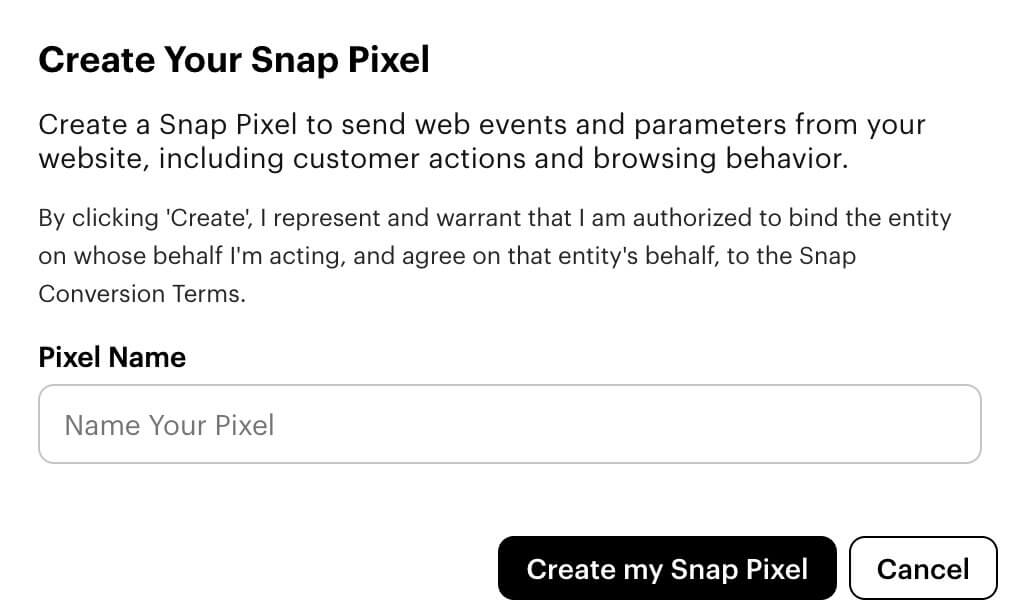
With the Pixel created the ID that is generated will be the External ID that is used when creating events to send to Snap.

How to Set Events in Intelitics
With the account connected you can set up the events to send to Snap. Please note our examples will go over our recommendation on how to send Registration and Deposit Events. With Snap you can create custom events or follow the list of Server Parameters they have listed, the decision is up to your business. If you would like to see all Server Parameters available in Snap please view the event_name field listed in the Server Parameters section of the article here.
If you are not currently on the "Add New Event & Triggers" pop up inside your Snap Data Source please click on "+Event".

Internal Event
Select your desired Intelitics event to connect to Snap.
ex: SIGN_UP (Snap) would also be registration under Intelitics. PURCHASE (Snap) under Intelitics would be deposit. Please be aware these event names are case sensitive.
Event
If selecting from the list of event_names provided by Snap you will need to need to ensure the name is written with the same casing as shown in the Snap article. For instance, if you are setting up a registration event please use SIGN_UP as the Event name and if using deposit please use PURCHASE as the event name.
Attributes to Send
If setting up a registration event please use "Event" otherwise you can use "Event & Value"
After the fields are complete you can hit "Save" or if you would like to add an additional event you can click on "+ Add Event" and repeat this process for each event type you would like included in the integration. Once complete your Snap account will now receive data from the Intelitics platform!